|
THE DESIGNS PROVIDED CAN BE SCALED UP FOR LARGER TABLES. THIS IS JUST WHAT SUITED OUR SMALL STOOLS AND SPACE FOR OUR SCHOOL PRODUCTION OF BEAUTY AND THE BEAST. All studen I am fortunate enough to have a great Technical Theater Production class this year. It has already given me plenty of opportunities to learn basic theater tech skills while working on our winter musical, Beauty and the Beast. Our first project this year, after certifying on the mitre saw and cordless drill for safety (and covering first aid) was to put those skills to use to create five miniature tables. For this project we used pre-cut 2'x2' sheets of 3/4" ply from Home Depot, plus our stock of 2"x4" lumber and some leftover 4"x4" beams. Two screw sizes were also used. This project was heavily supervised by both me and my advanced tech student. You should get each kid to demonstrate safe operation of the tools before the project begins. My students had a checklist of skills and steps they had to demonstrated and then we both signed it. This is a necessary step for the safety of the students and for legal reasons as well. Students were not allowed to work without safety glasses and close-toed shoes, and all measurements were double-checked by their other group members. 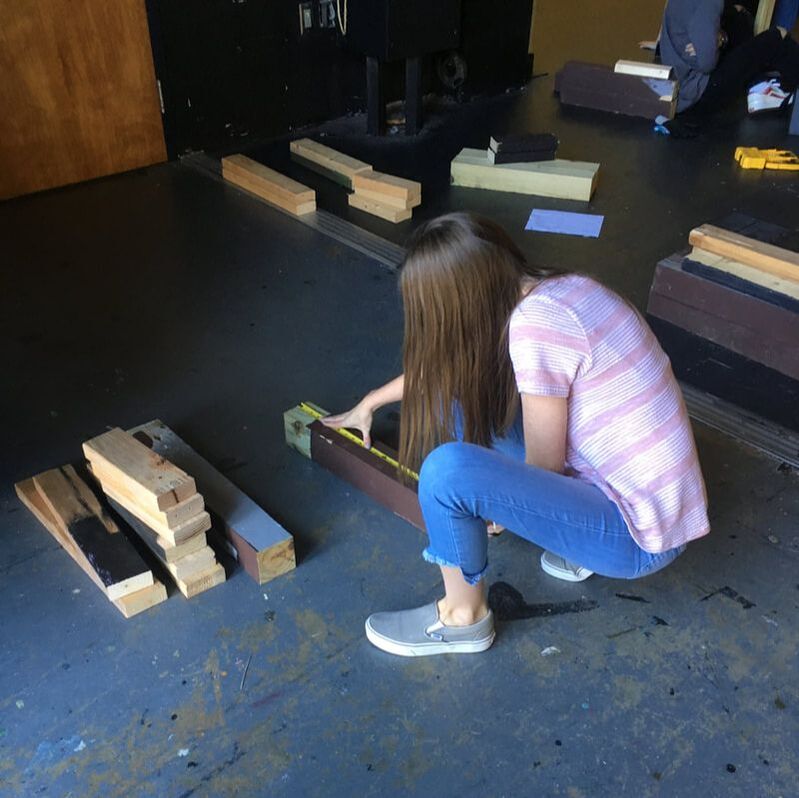 I began the project by giving out plans (link below) and asking kids to do a little math to figure out some of the missing measurements. We checked these as a class. We also figured out a plan of where to insert screws, reminding them that they could not cross paths. This meant a day of work before we even began to measure and cut. It was a slow project compared to what some Dads could crank out in a weekend, but it was fundamental for teaching those critical skills for construction.
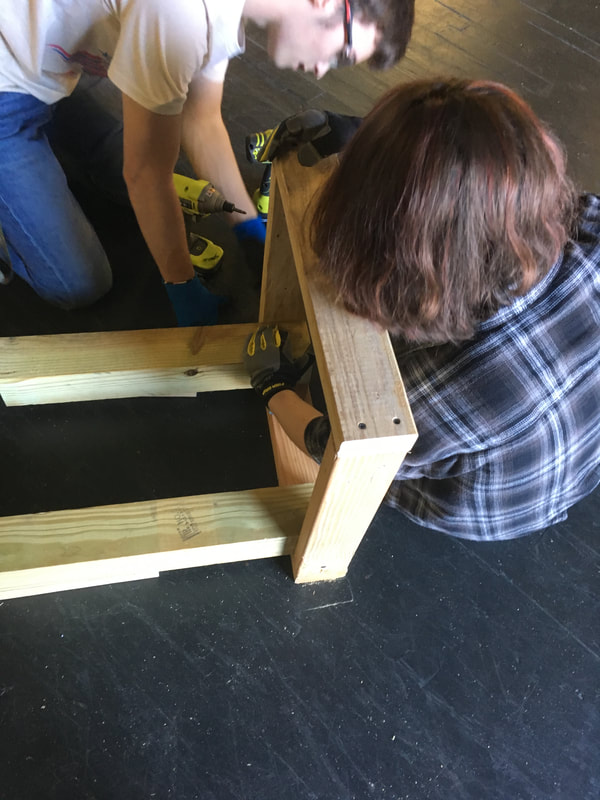
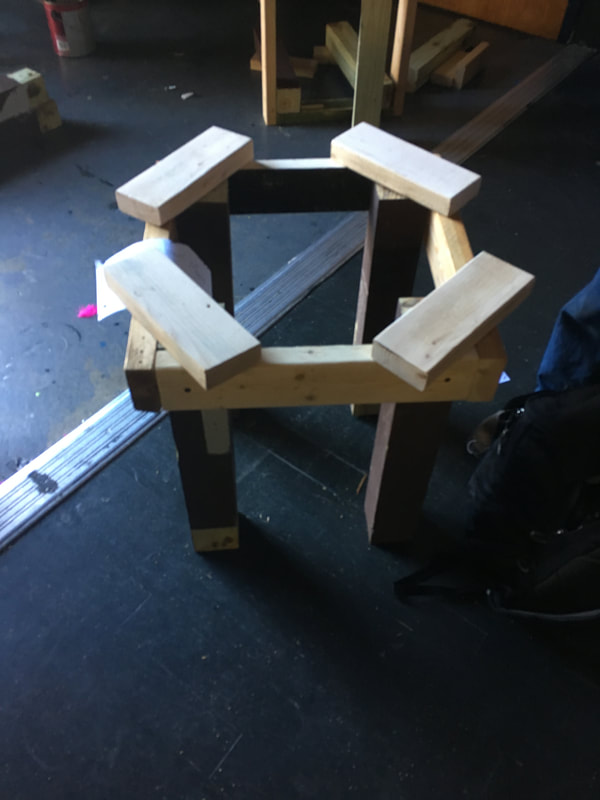
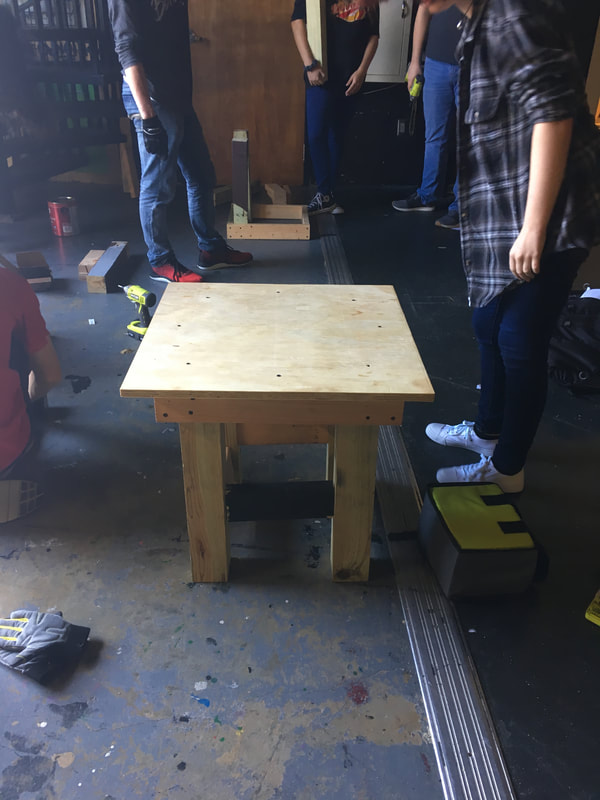
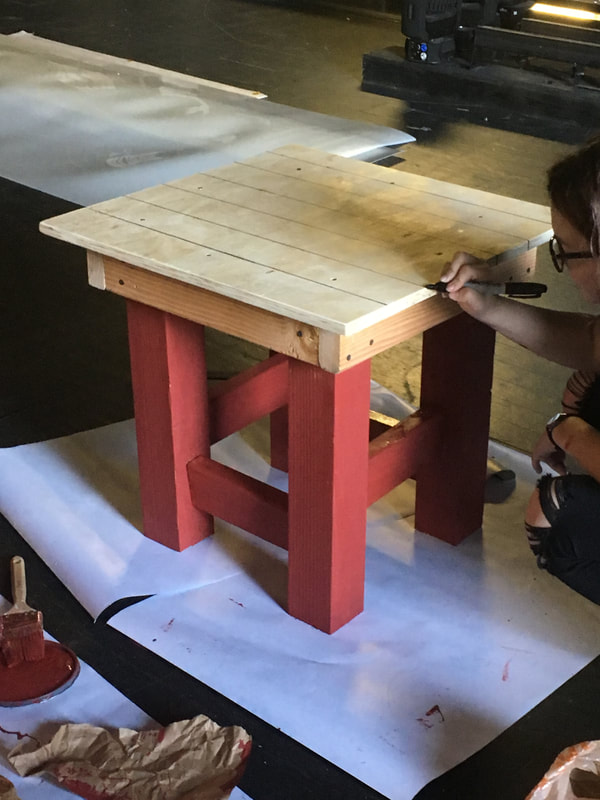
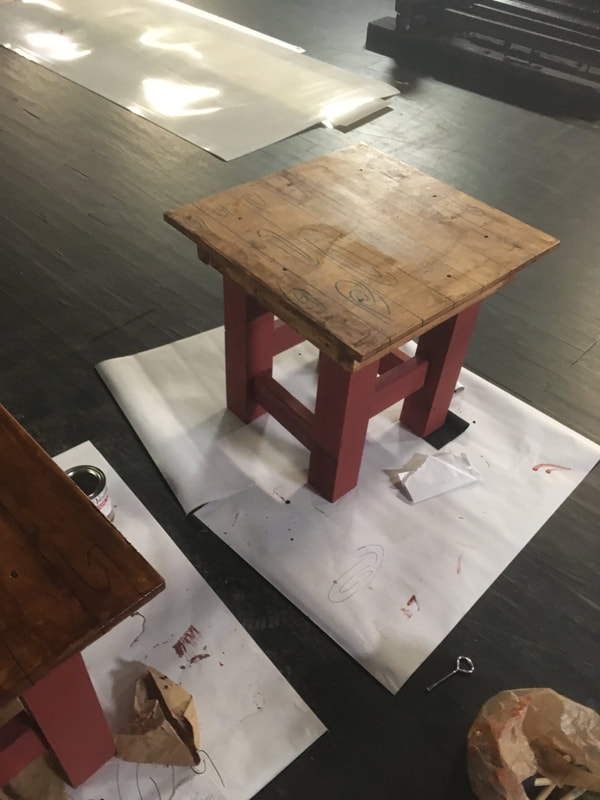
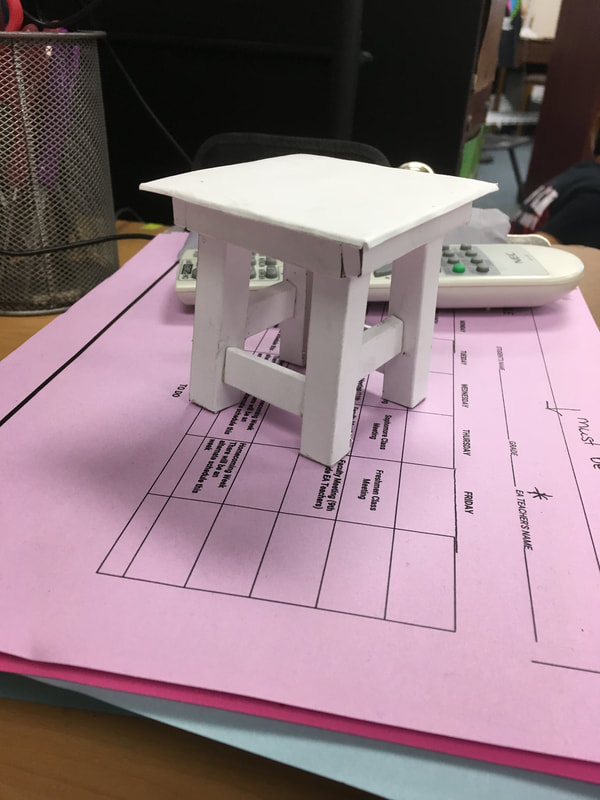
We spent a few days cutting and assembling. They built the frame first, then attached legs and crossbeams, the finally the tabletop. These were essentially redundantly stable mini platforms with an overhang. We will have boys standing on them and stomping in "Gaston," so we needed extra stability. If you want students to move on them more, then the overhang should be eliminated: if weight is put on the edges of the table, it will tip. If your tables aren't going to be holding a lot of weight, the cross braces can be eliminated. I liked the cross braces because students had to drill in at a 45° angle, which took skill and planning. We finished the tables with brick red paint on the legs (because we were covering up pre-painted 2"x4" boards and sanding them was too time intensive. Next students drew faux planks with permanent marker before using two coats of a 2-in-1 stain and poly. We used disposable brushes for the stain because we don't keep paint thinner or oil paints at the school. At the end of the project a student even made a paper model of our design and left it in my room as a piece of guerrilla art. Some of the tables were a bit better crafted than others, but with proper supervision and heterogeneous assignments of skill in the groups, I got five usable products.
Want to see them in action? Keep an eye on @omhsdrama on Instagram. Our show is in January!
0 Comments
Your comment will be posted after it is approved.
Leave a Reply. |
AuthorAmy is a drama teacher with an M.Ed. in Secondary Education, ELA, teaching in the suburbs of Birmingham, AL. Archives
December 2020
Categories
All
|
||||||
 RSS Feed
