|
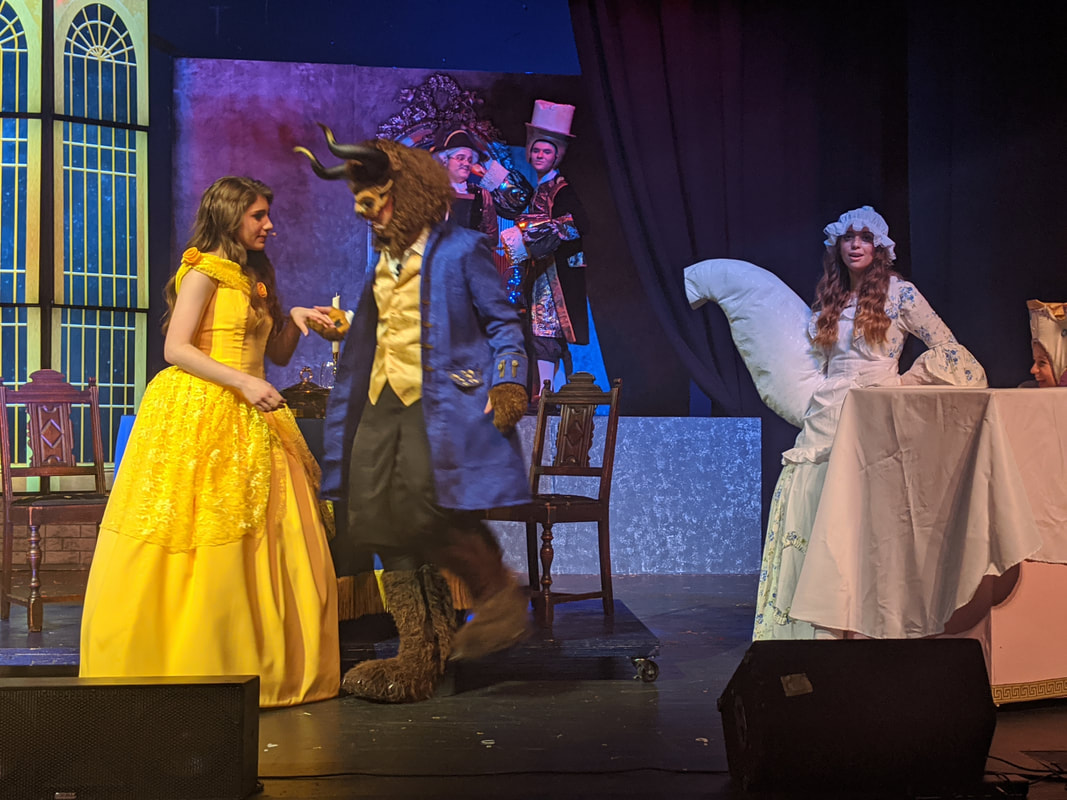
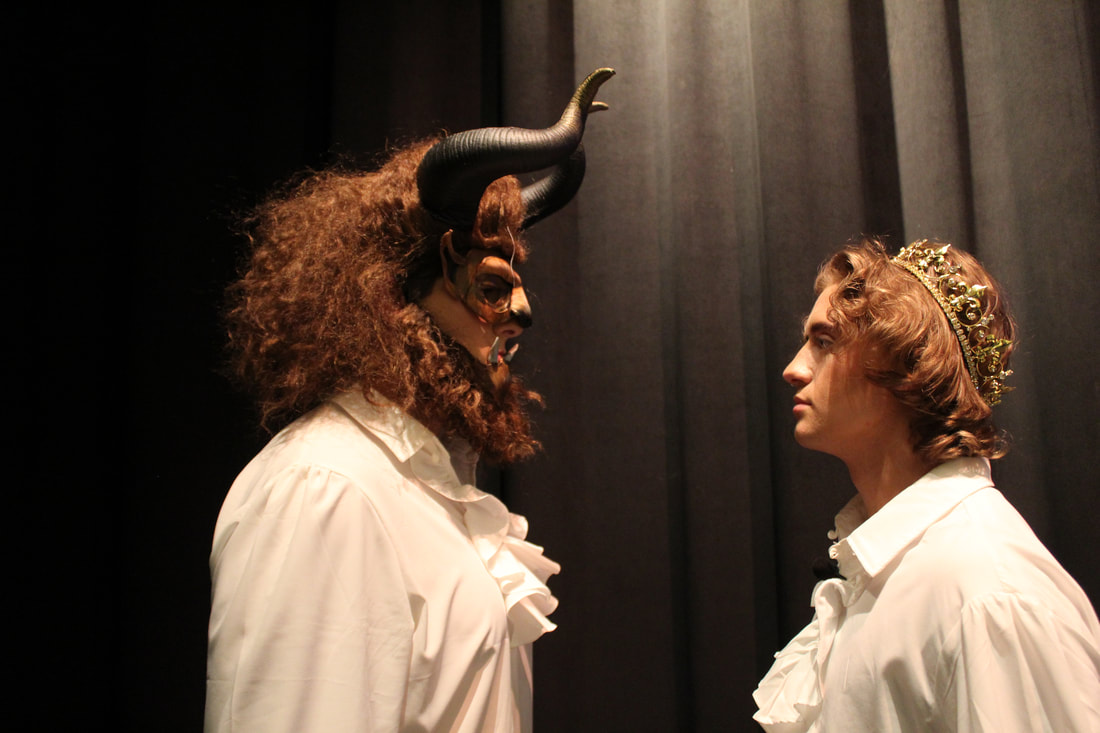
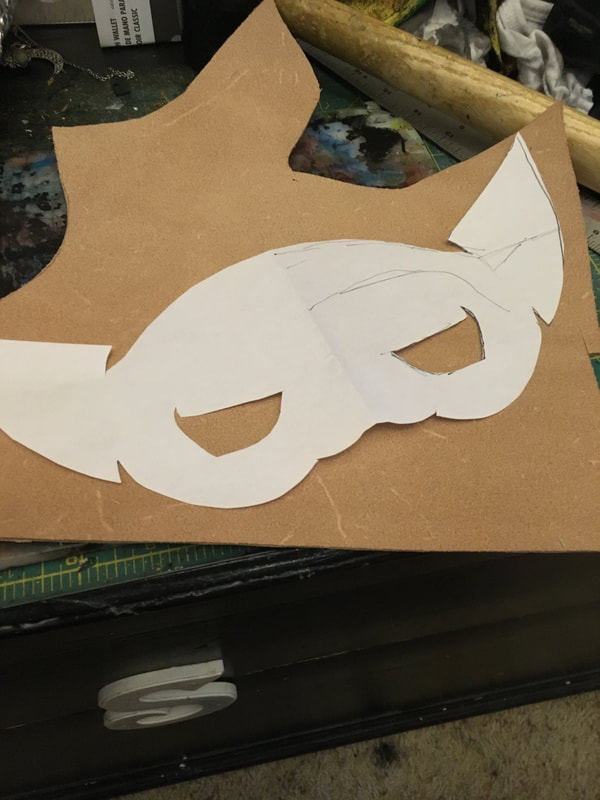
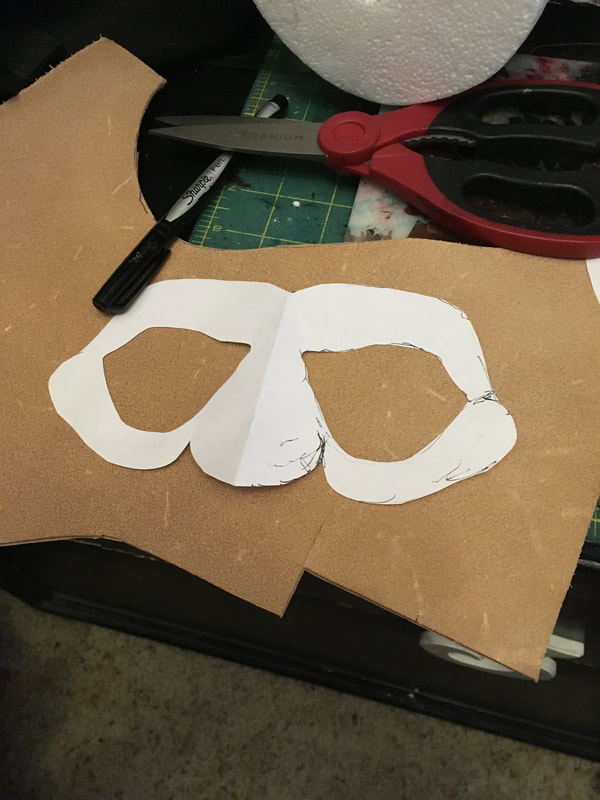
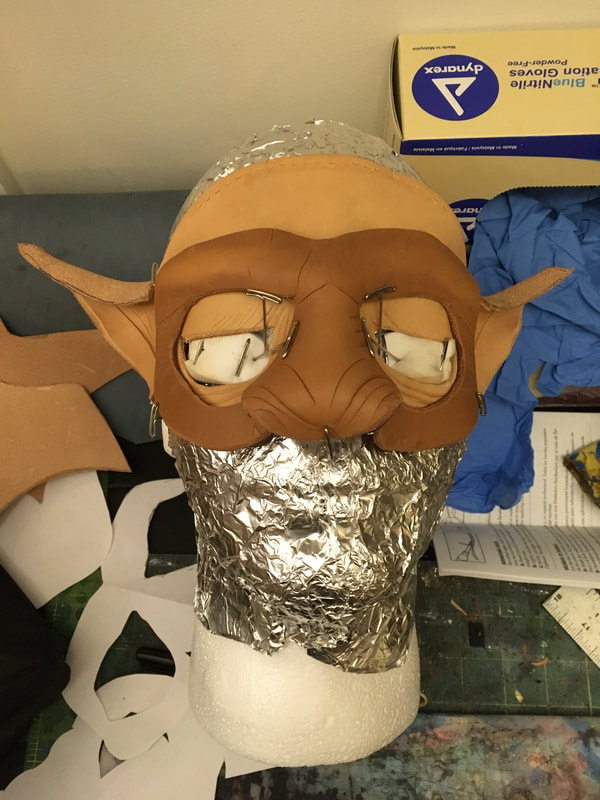
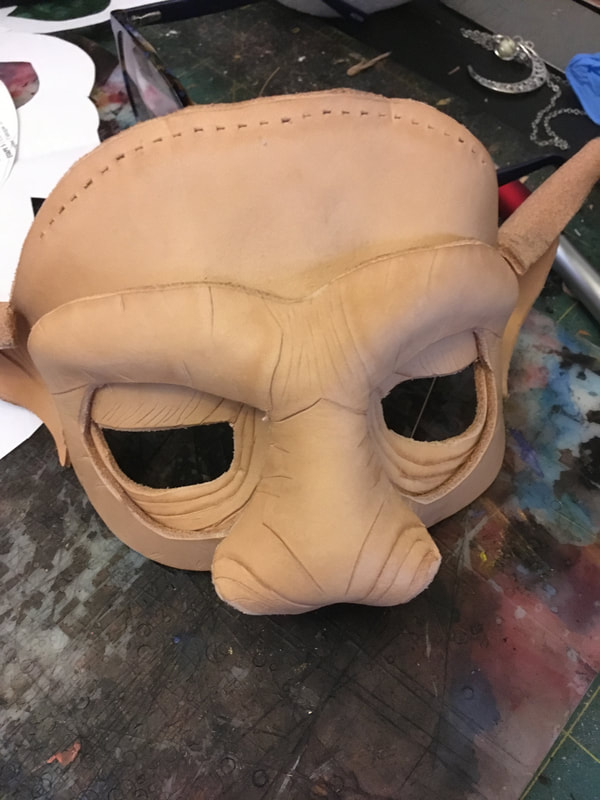
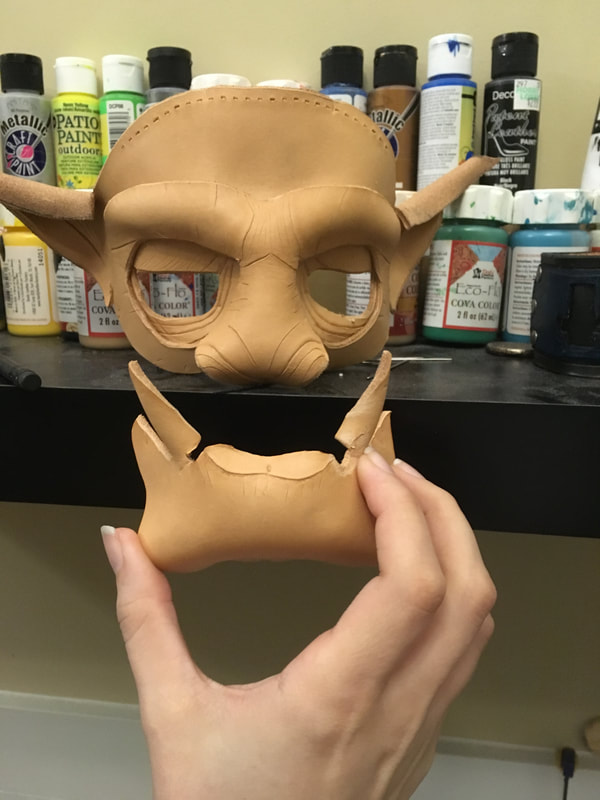
On January 12, 2020, we closed our school production of Beauty and the Beast. It was a chaotic weekend because of weather cancellations and postponements and overall we lost a show from our run, but it was still a HUGE success. Since posting images of our production, I've received a lot of questions about our Beast costume, so I'm going to do my best to share process photos here as well as links to the materials we used. His blue coat was a "Victorian" (Amazon keywords for historical clothing are NOT accurate) cosplay coat with the trim painted gold. We bought it on Amazon and removed and repainted buttons too. (Link.) The coat was paired with a gold vest for the "Beauty and the Beast" iconic number. His base costume always included a poet shirt, even as the prince. Search terms "Pirate" and "Gothic" will help you track down similar items. (Link.) We also put him in black knicker pants and sewed padding into the thighs in front to achieve something like a reverse leg wolf effect. For gloves he wore fingerless paw gloves (Link). All of the fur in his costume was painted to match the color of the wig. The feet were created by a student who used fur, batting, muslin, hot glue, and some sewing to make a wolf paw look. We started with a Demonia platform boot because the boy playing Beast was as tall as Belle, and we added lifts inside to boost him nearly six inches. The boots were covered in fur and the heel exposed to create a walking on toes look like a dog. Padding was added to the back to bring out the calf and with the thigh padding, exaggerate the illusion of a reverse dog leg. My student, Emily, made little stuffed balls of fabric to attach to the boots and covered them in fur. These were the individual toes. We also glued claw claws into the front for toenails. She left the zipper accessible, which was much easier on side-zip boots. The boots we made for our understudy, who was also the body double for the prologue, were back zip and that made the padding part MUCH trickier. The MaskThe mask was my own project after our previous musical wrapped, and it made the transformation very easy. I constructed a leather mask in two layers. Below are images of the templates I created. The base layer was wet-formed on a mannequin and once it was dry, the next layer was formed on top of it to add depth. The pieces were then glued and painted before stitch holes were punched and they were stitched into a wig (Link.) The last step was to add a pair of horns (Link), which we'd used in a past show so the horns were already tipped with bronze paint to add depth.
The wig worked out beautifully and held styling well. The show was a huge success. I would just recommend stocking up on hairpins to keep it in place during the fight on the tower.
0 Comments
|
AuthorAmy is a drama teacher with an M.Ed. in Secondary Education, ELA, teaching in the suburbs of Birmingham, AL. Archives
December 2020
Categories
All
|
 RSS Feed
